Drupal Installation
- At this time, access to (S)FTP is required in order to upload the module manually.
- The Drupal module will be made available through composer and Drupal.org in 2026.
Requirements
Section titled “Requirements”- Drupal core version 9.4+
- PHP 5.6+
- Access to (S)FTP
Installation
Section titled “Installation”Follow these steps to install the Patchstack connector on your Drupal site.
- Download the Drupal connector here.
- Connect to (S)FTP of your Drupal site.
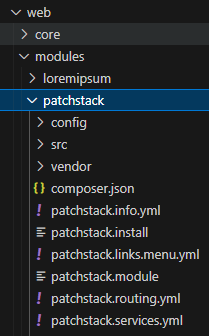
- Navigate to /web/modules/ and unzip the contents of the zip file into this folder.
- Confirm that the /web/modules/patchstack/ folder exists and this folder contains 3 other folders and files.
- Navigate to the administration area (/admin/) on your site.
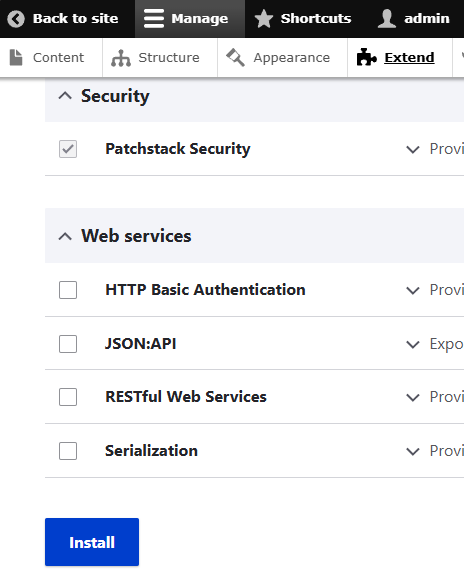
- Navigate to Extend and scroll down to the Patchstack Security item.
- Check the box, and click on the Install button.
- After module installation, scroll back down and expand the description to see a “Configure” button. Alternatively, navigate to /admin/config/development/patchstack

- On this page, enter the API key found on the page of your site in the Patchstack App.
- Click on the “Save configuration” button.
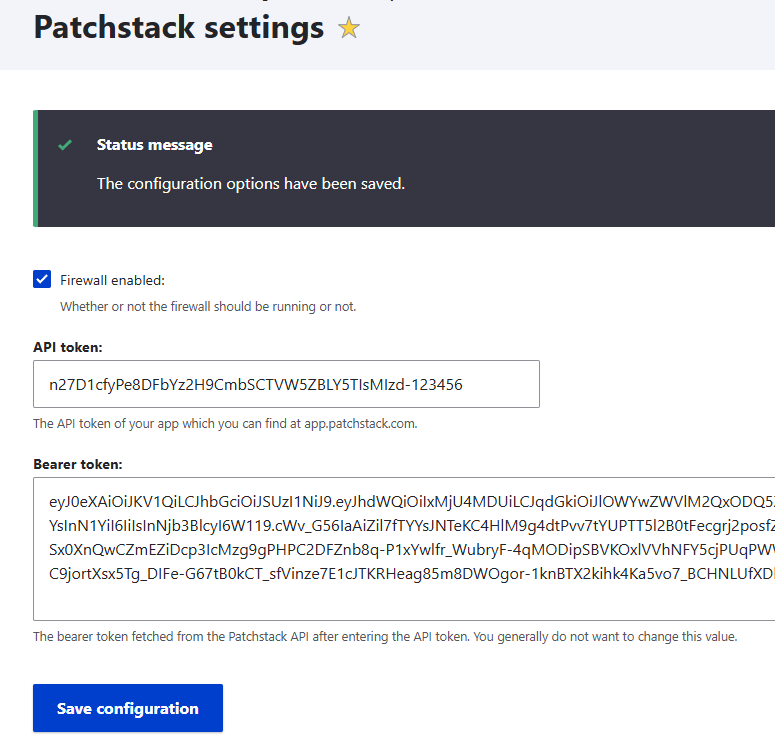
- After it has been saved, note that the API token is still present in the field and the “Bearer token” field will be filled in. Visit your site in the Patchstack App to view its information and note that it connected to Patchstack.
If you need further help, don’t hesitate to reach out to us via live chat at the bottom right corner!